
In this Admin Guide, we cover OAE Taxonomies & Flags – adding new ones, working with Taxonomy properties and objects, and configuring Flags.
Table of Contents
OAE Taxonomies
OAE Taxonomies establish different ways to group and classify projects in OAE. For instance, you might create Taxonomies for a customer, asset, or project type. By default, a new estimation site has no Taxonomies.
A Taxonomy serves as a high-level category, like “Vessels”, that has custom properties like “Hull Size.” You then add Objects to a Taxonomy – examples of that Taxonomy, like “USS Shipname” – and fill in those custom properties for that Object. You can also add files and a logo to Objects. Lastly, you associate projects with Objects. This arrangement lets you retain metadata in Objects that can be reused by different projects – rather than having to add and configure those same properties over and over at the project level.
Taxonomies configuration lives in a tab in System Settings.

Add New Taxonomy
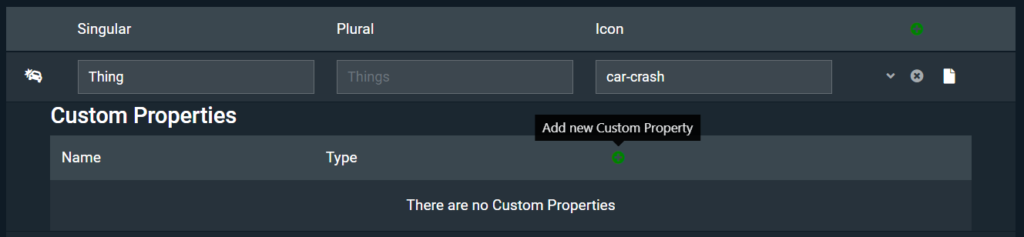
To add a new Taxonomy, click the green + button at the top of the OAE Taxonomies table.

By default, a new Taxonomy titled Thing will be added. A plural form will be automatically give to the new Taxonomy by adding ‘s’ to the end, but if that’s not what you want, just edit the Plural value, like Class with plural Classes.

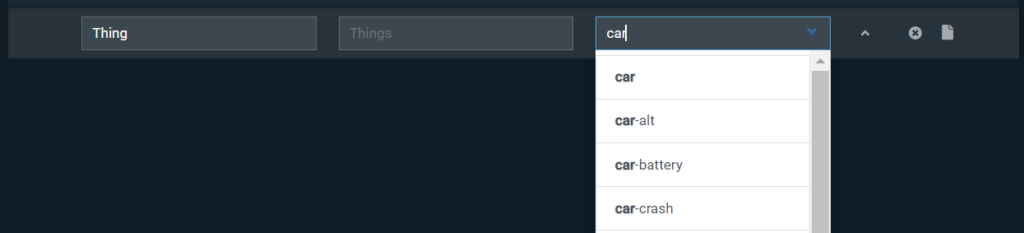
To set the Icon for the new Taxonomy, type in the field box to search through the available list of icons.
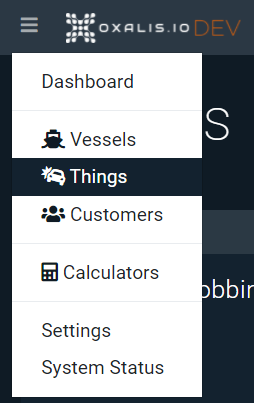
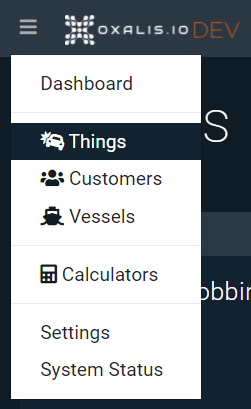
Once a Taxonomy has been added via the System Settings, it will then be available from the Settings drop down menu.
Custom Properties
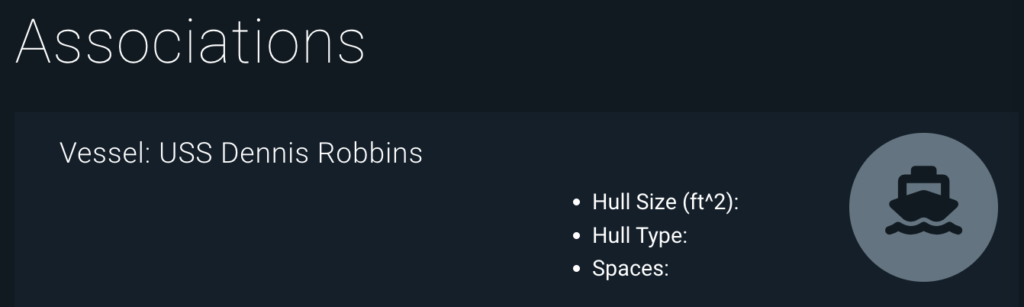
Each Taxonomy can have custom properties, providing metadata that will be available in each project associated with that Taxonomy, and displayed on the Associations tab in Project Home.
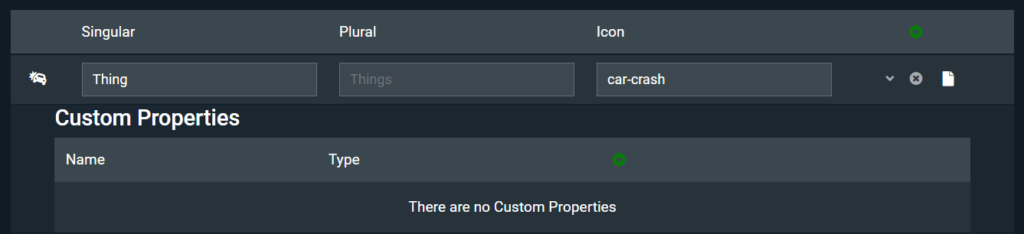
To add custom properties to a Taxonomy, from the Taxonomies settings tab, click the Show Custom Properties icon for the Taxonomy. A new Custom Properties section will new appear under the Taxonomy.

Here you can add a new custom property by clicking the green + button.
This will add a new property to the Taxonomy, named by default Custom Field N (where N is a number) with the Type being Text.
There are several available Types to choose from if you need a different one:
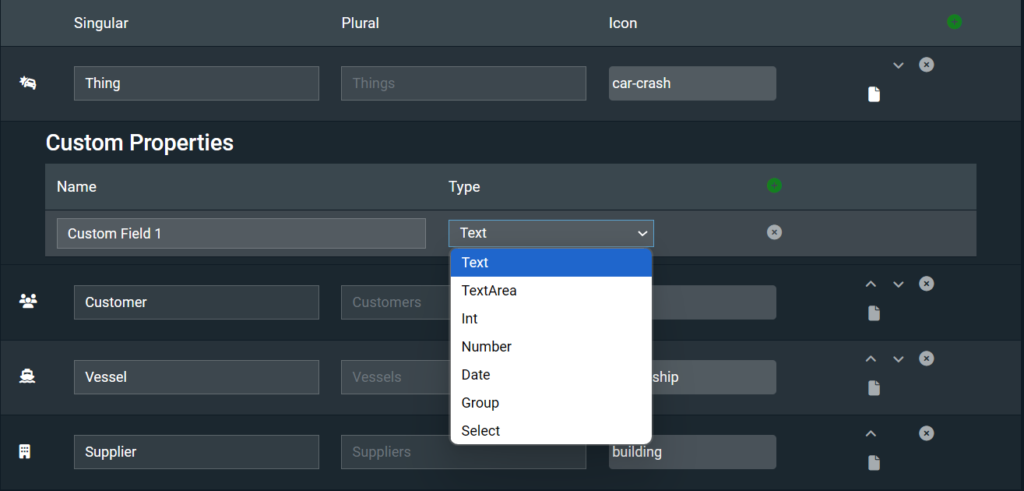
- Text – A short text field
- TextArea – A multi-line text field
- Integer – A whole number
- Number – A number with decimals
- Date – A calendar date
- Group
- Lets you define multiple instances of that property. For example, you might define a Group property called
Spaces, then define multiple properties that should be defined for each space.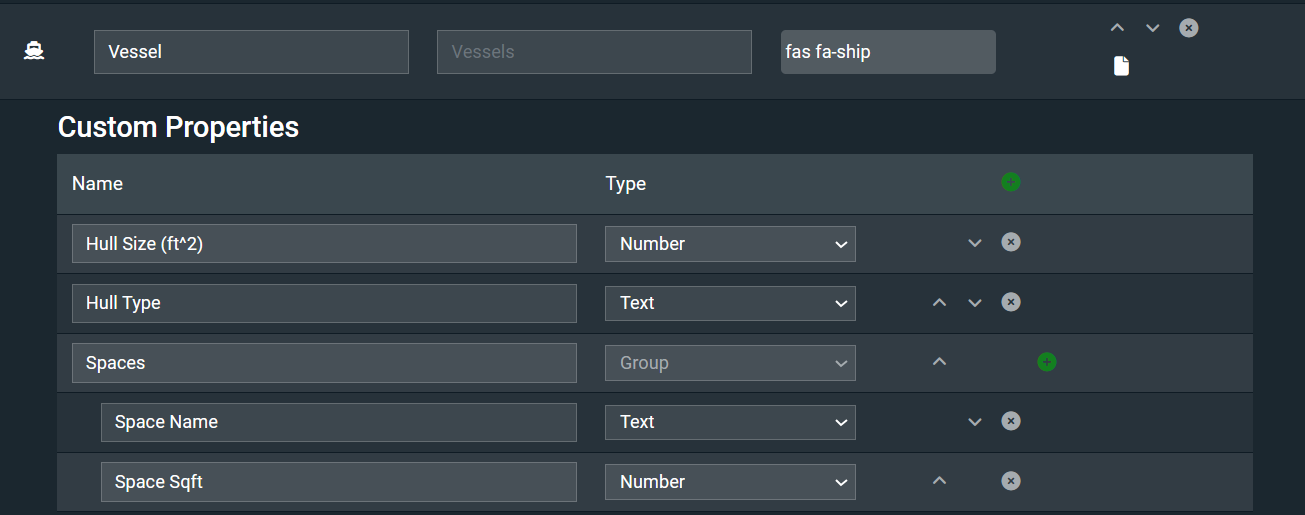
- Lets you define multiple instances of that property. For example, you might define a Group property called
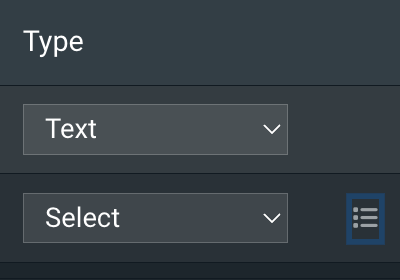
- Select
- This creates a dropdown field for users to select from when entering a property value. To create the options, click the little icon that appears next to Select.
In the pop-up window that appears, click the green + button to add options.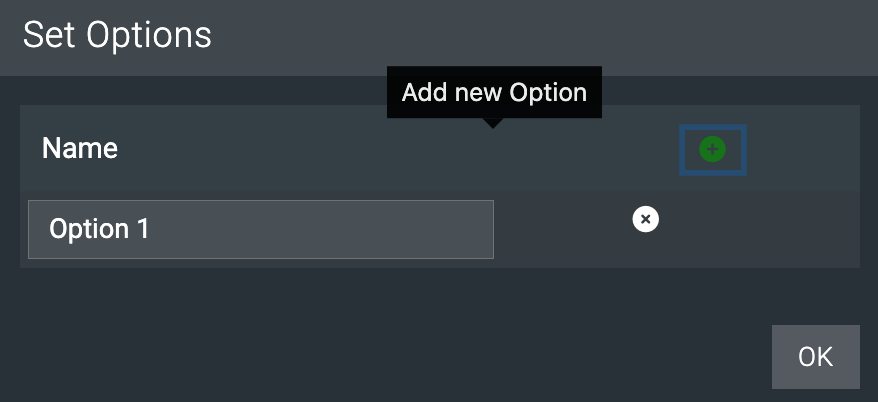
- This creates a dropdown field for users to select from when entering a property value. To create the options, click the little icon that appears next to Select.
You can add as many custom properties to a Taxonomy as you need.
Add Taxonomy Object
Since OAE Taxonomies are high level groupings or classifications, each Taxonomy will have Objects that projects can be associated with.
Note: Users can also add Taxonomy Objects when creating new projects or via Project Settings, if the Taxonomy Object they are attempting to associate to their project does not exist (like a vessel that has not been estimated before).
To add or update a Taxonomy Object, click on the applicable Taxonomy from the Settings drop down menu.
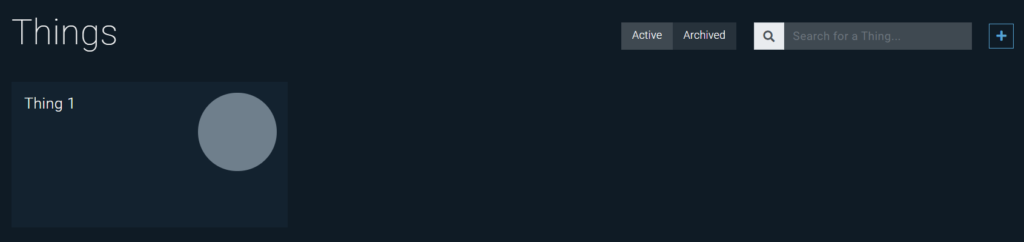
This takes you to a page for the Taxonomy, where you can view its Objects by Status (Active, Archived), search for Objects, and add new Objects.

To add a new Object, click the blue + button at the top right corner of the screen. The Add Thing screen will appear, where you provide the Name and Description of the Object.
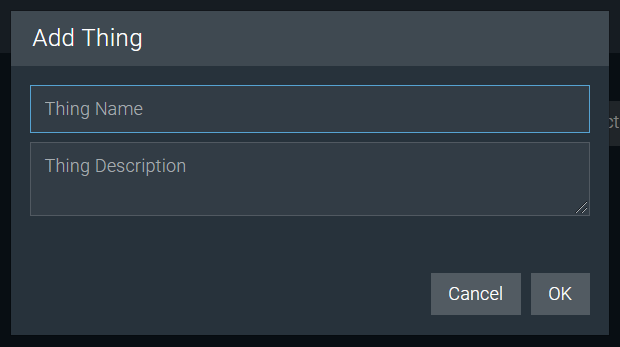
Click OK to create the new Object.
Taxonomy Object Updates
From a Taxonomy page, you can navigate to any Taxonomy Object by clicking on that Object.
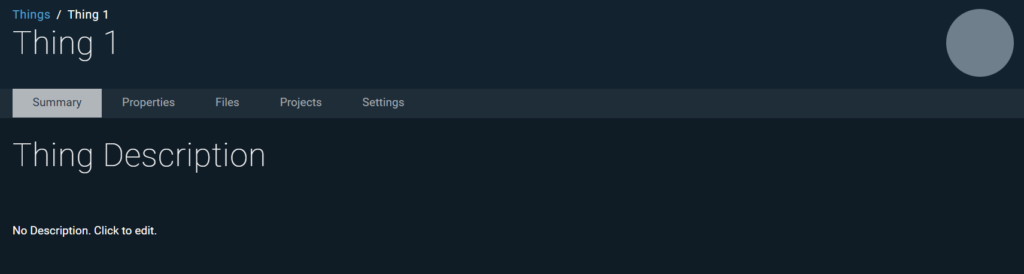
This takes you to the same Object page (minus Settings) that users can view from their project’s Associations, if they want to review more information about the Object their project is associated with.
Summary tab
Here you can update the Object’s Description.
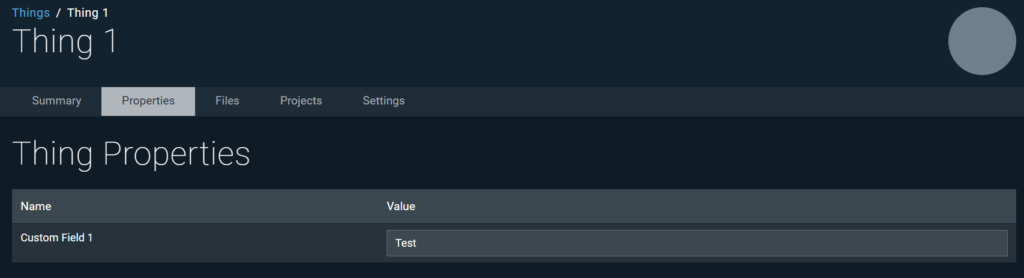
Properties tab
Here you can add or update values to any Custom Properties associated with the Taxonomy.
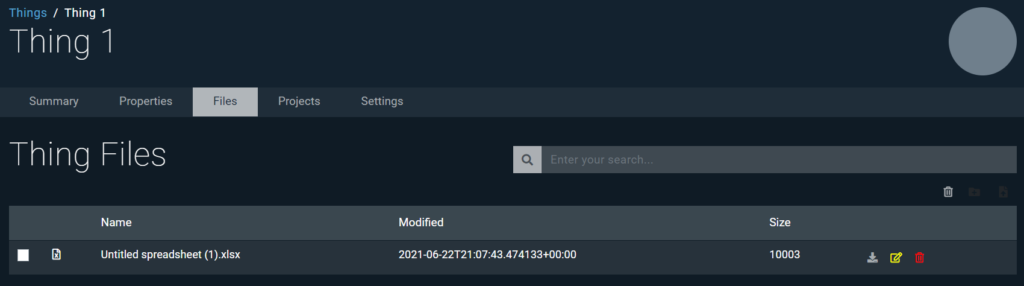
Files tab
Here you can upload or download any files associated with the Taxonomy Object.
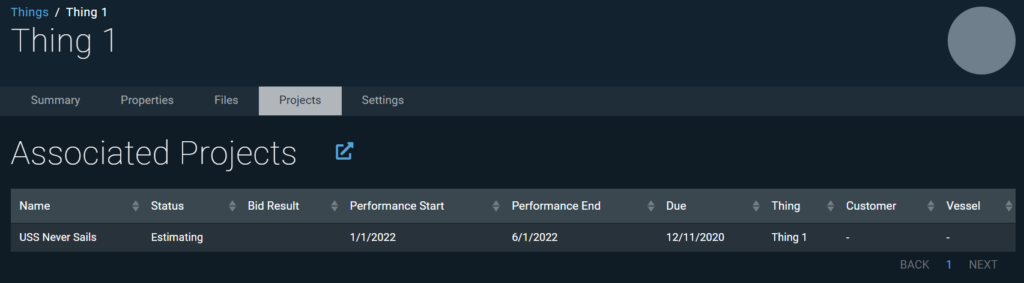
Projects tab
Here you can see a list of all projects that have been associated with the Taxonomy Object.
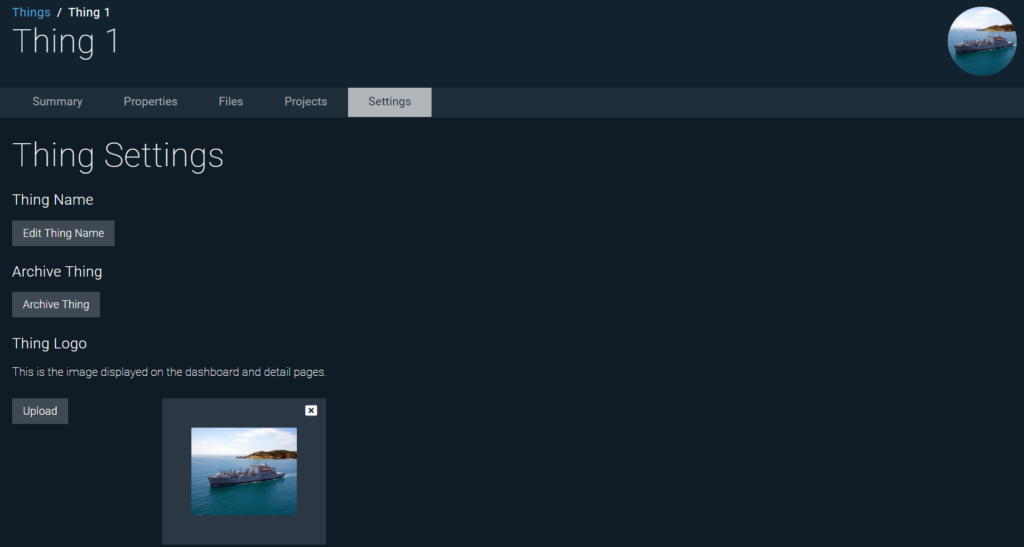
Settings tab
Here you can:
- Edit Object Name – Update the Name of the Object.
- Archive Object – When a Taxonomy Object is Archived, it will no longer appear as an option for users to select when searching to associate their project with a Taxonomy. All existing projects associated with the Taxonomy Object will not be affected.
- Upload Object Logo – Add a Logo to the Object.
- When a project does not have a Logo, it will inherit its highest ranking Taxonomy Object’s Logo.
OAE Flags
Flags provide a way for users to call out and filter by Line Items that need to be noted. By default, there are six Flags provided for use in the system, but admins can add and update from the Default Flags tab in System Settings.

Note: Flags function similarly to rate cards and structures in the system, where the System Default is copied to all new projects, but can then be updated on specific projects from Project Settings.
Add New Flag
Admins can add a new Default Flag by clicking the green + button at the top of the Flags table.

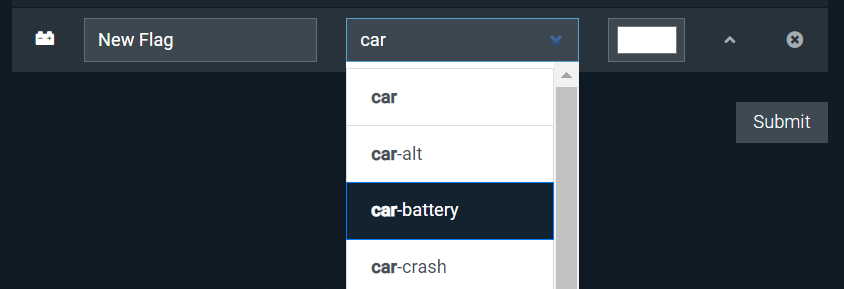
This will add a new Flag to the end of the list, with a blank Label, the Flag Icon (which is the default), with White as the Color (the default).
Enter a Label (name) for the Flag, type in the Icon field to search for an icon if you want to use something other than a flag, and click on the color to open the Color selector.
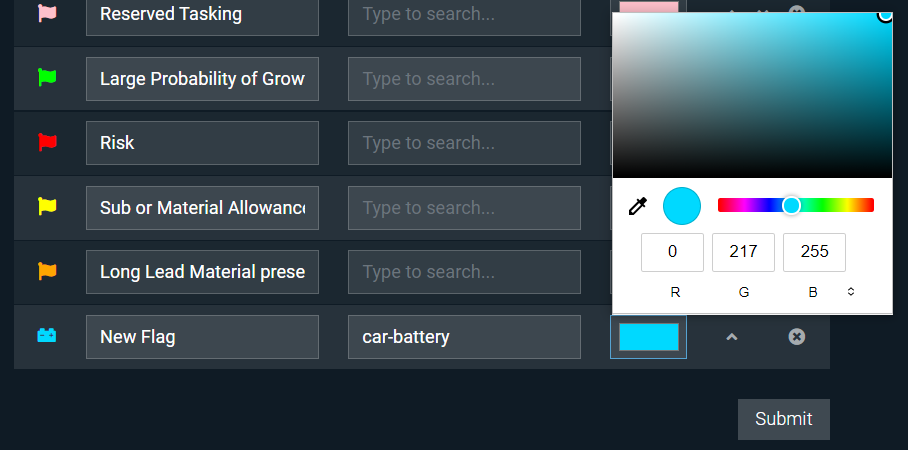
Once you have made changes to a new or existing Flag, you must hit Submit for the Default Flags to be updated. When you submit your changes, you will get a notification that the system has ‘Saved flags’.

Note: Changes to the Default Flags will not be applied to existing projects, just newly created projects. If you want a new Flag to be added to existing projects, it will have to be added individually.
Learn More
Check out the rest of our Admin Guides to learn more about configuring OAE.
