
This User Guide provides an overview of all aspects of managing YARDOS Estimation work items.
Work items in YARDOS Estimation are the primary organizing level of a project’s estimate, so naturally there’s a lot to know, and a lot you can do with them. This guide will go over all of it.
Table of Contents
Creating a Work Item
You can create YARDOS Estimation work items in bulk using the import feature, which is covered in our Import User Guide. When you just need to add one work item, the import process is overkill, so being able to add manually is important.
From Project Home, go to the Work Items tab (the default when you open a project), and hit the + button in the right toolbar.
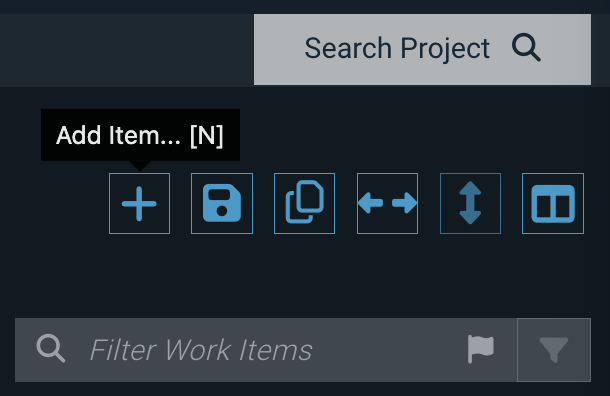
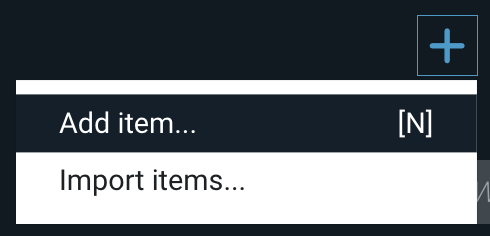
Choose Add Item... from the popup menu to get the Add Work Item screen.
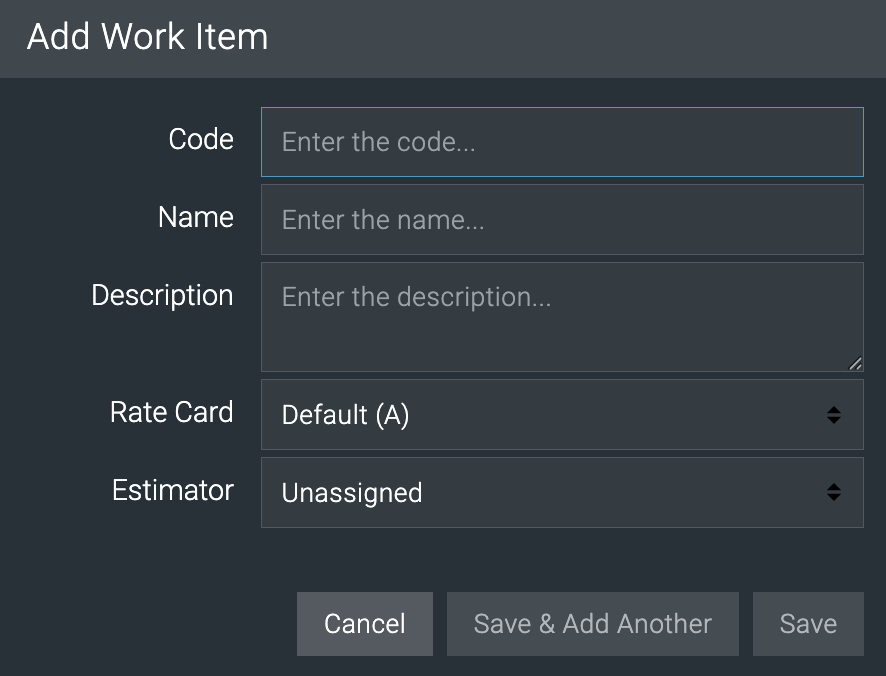
Provide values for at least the Code and Name fields (the others are optional); the field labels correspond to columns in the work items table, with Code becoming if. When you’re done, hit either Save – if you’re done adding items – or Save & Add Another if you have another to add.
The new work item will appear at the bottom of the work items table. If you need it to be higher up in the table, use the cursor to grab it by the dots on the left of the row, and drag it till it’s where you want it. The table will reorder as you drag it.
Adding a Line Item
Again, we’ll only cover manual additions, since our Import User Guide explains how to import line items.
From a work item’s Line Items tab (the default when you open a work item), hit the + button in the right toolbar.
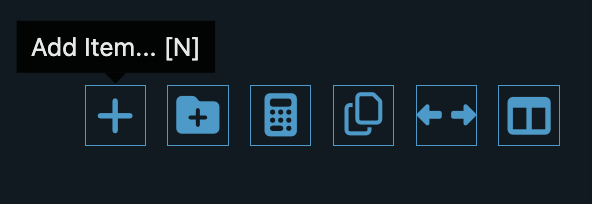
Choose Add Item... from the popup menu to create an empty line item row at the bottom of the table.
A new row will appear in the Line Items table, with the cursor in the Name field.
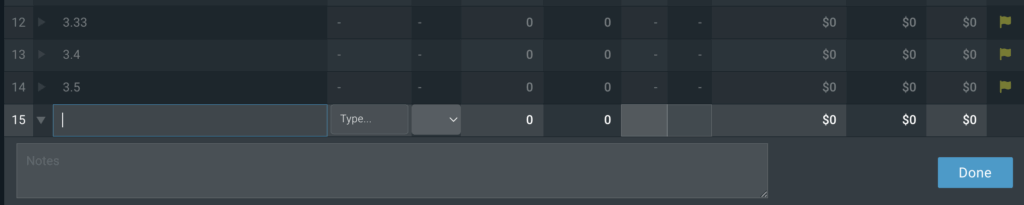
The columns available will vary, of course, depending on which structure columns are configured for manual entry. There are no required fields, so if you hit Done or just click out of the row, then you’ll add an empty line item.
If you need to change the order of items, just grab the line number on the leftmost side, and drag it to where it needs to be.
Note that if you don’t choose a value for the Rate Card field, it will be populated with a dash and the system will use the work item’s default rate card.
Manually Adding Values
YARDOS Estimation makes it easy to add values to a line item. Just click on a field. If it’s editable (some are not, like items from assemblies, calculated items, and distributions), then enter a value. This might mean choosing from a dropdown or typing the value.
If you want to add a note, expand the row using the little arrowhead icon at the beginning of the row.
If your structure has groups configured, you’ll have to expand the group to see the child columns and enter data. Use the little arrowhead in the column headers to do that.
Once you’ve added data, save the changes by doing any of these: clicking out of the row, hitting the Return/Enter key, or hitting the Done button.
Adding a Calculator
For calculated line items, you can either add a new item that uses a calculator, or add a calculator to an existing item.
Add a new calculated item
To add a new calculated line item, use the calculator button in the toolbar.
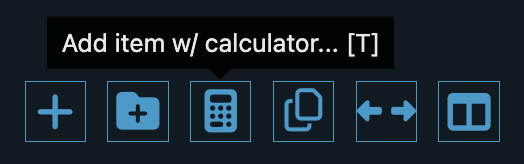
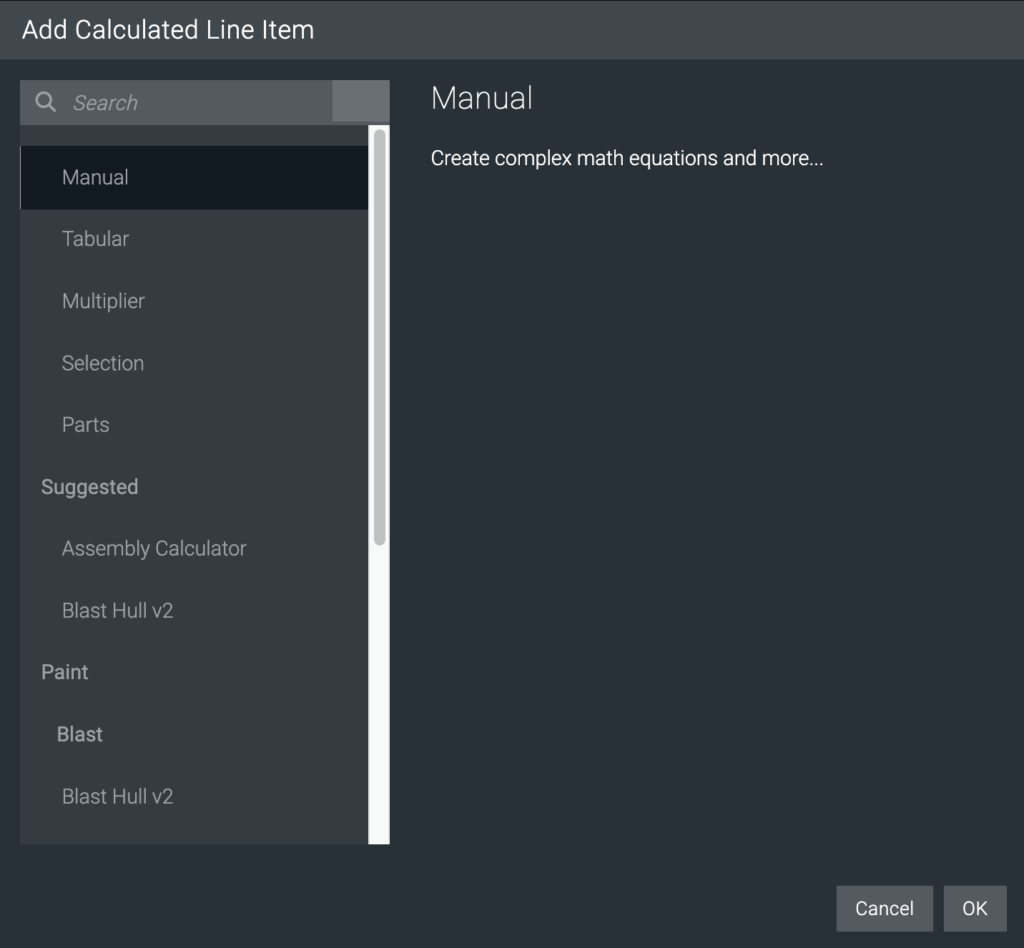
This will pop up the Add Calculated Line Item dialogue box. There are a lot of options here – see our Calculators User Guide for details.
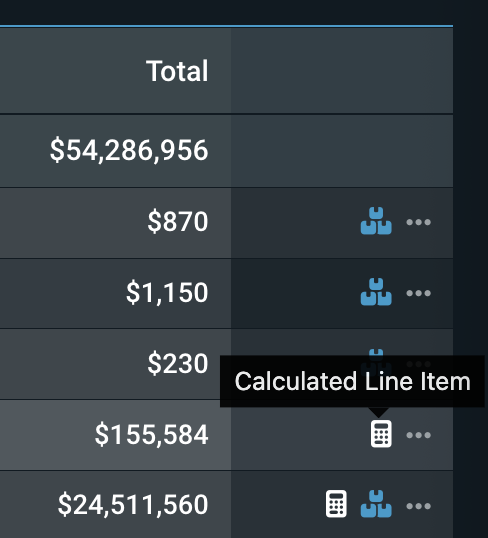
The new item will appear at the bottom of the line items table, with a calculator icon on the right side to indicate where the item gets its values.
Add a calculator to an existing item
You can turn a regular line item into a calculated one. In the ... menu on the right side of the item’s row, choose Open Item Calculator.
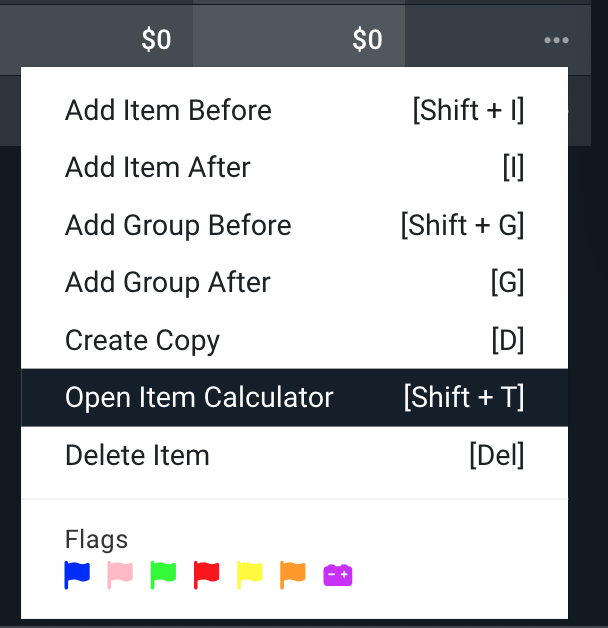
Note that this option is unavailable for group line items and for line items that are the output of math, like assembly items and distributed items. It will pop up the Add Calculated Line Item dialogue box, which works the same as noted above for new items.
Using Assembly Items
The YARDOS Estimation Assembly functionality provides estimators a more efficient way to build their estimates using known quantities per unit of work. Rather than building estimates manually using line items and directly entering values, estimators often have defined “building blocks” for building their estimates. Reusing standard items like this saves time and reduces errors.
Examples include the number of hours and equipment costs for setup and breakdown of scaffolding, where the estimator just needs to know how many times they need to do it. Assembly items can be defined at the system, project, and work item levels. Learn how that hierarchy works.
The Assemble tab is where you
Adding assembly items to YARDOS Estimation work items is a two step process. Get started by using the toolbar buttons above the assembly items table, which provide two ways to add assembly items: reusing items configured at higher levels in the system, or creating a custom item.
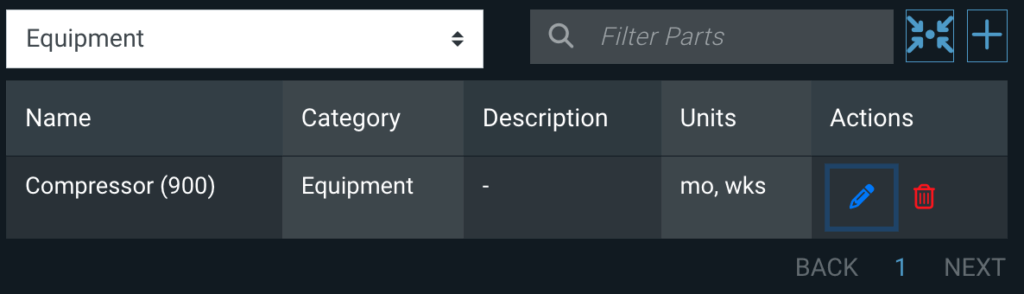
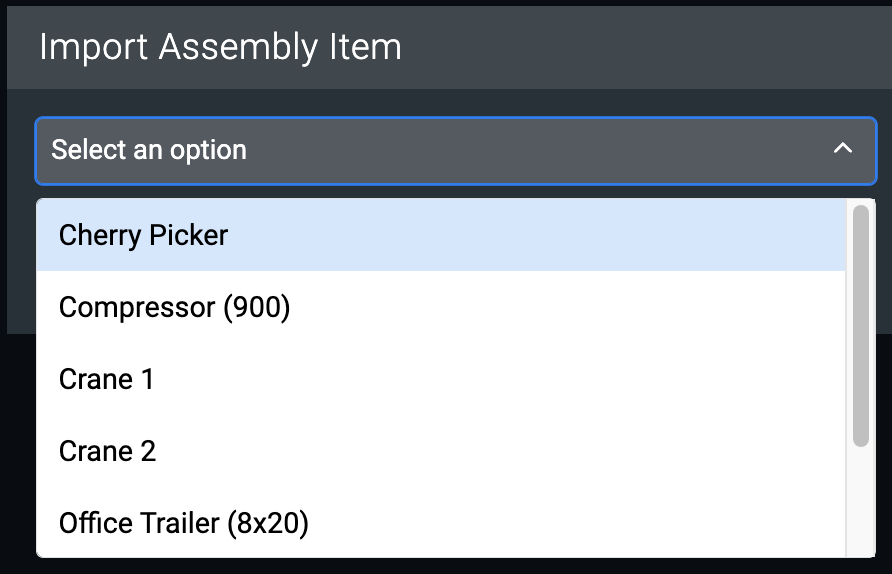
Reusing Assembly Items
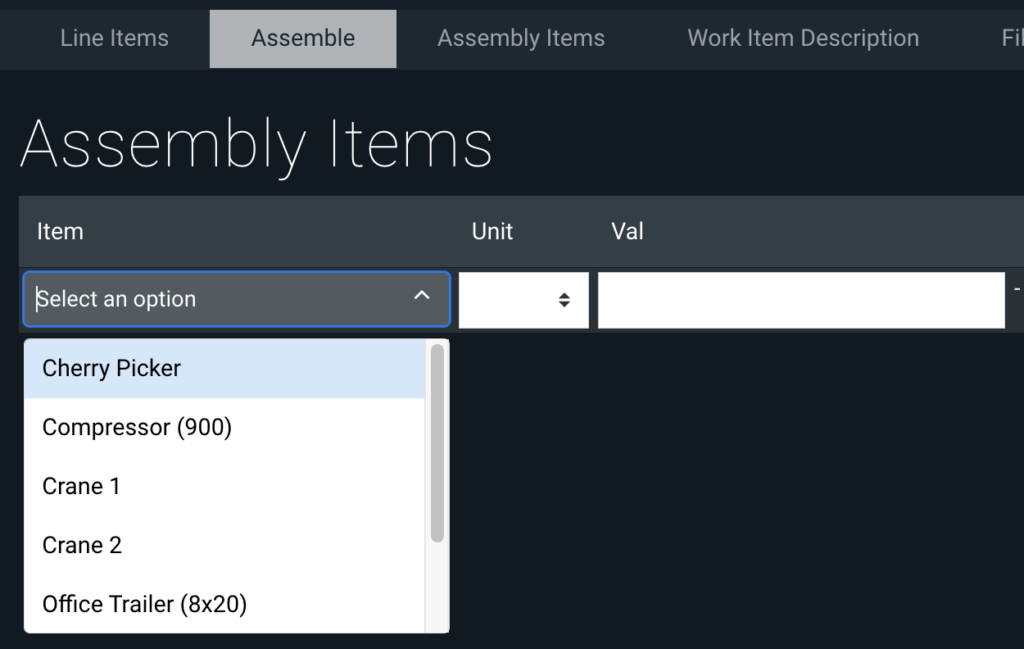
Use the four-arrow button to import an assembly item; at the project level you can only choose from items defined at the system, while at the work item level you can also choose from items defined for the project. Either pick one from the dropdown or search the list by typing where it says “Select an option.” Once you pick one, it will be added to the Line Items table.
Create a Custom Assembly Item
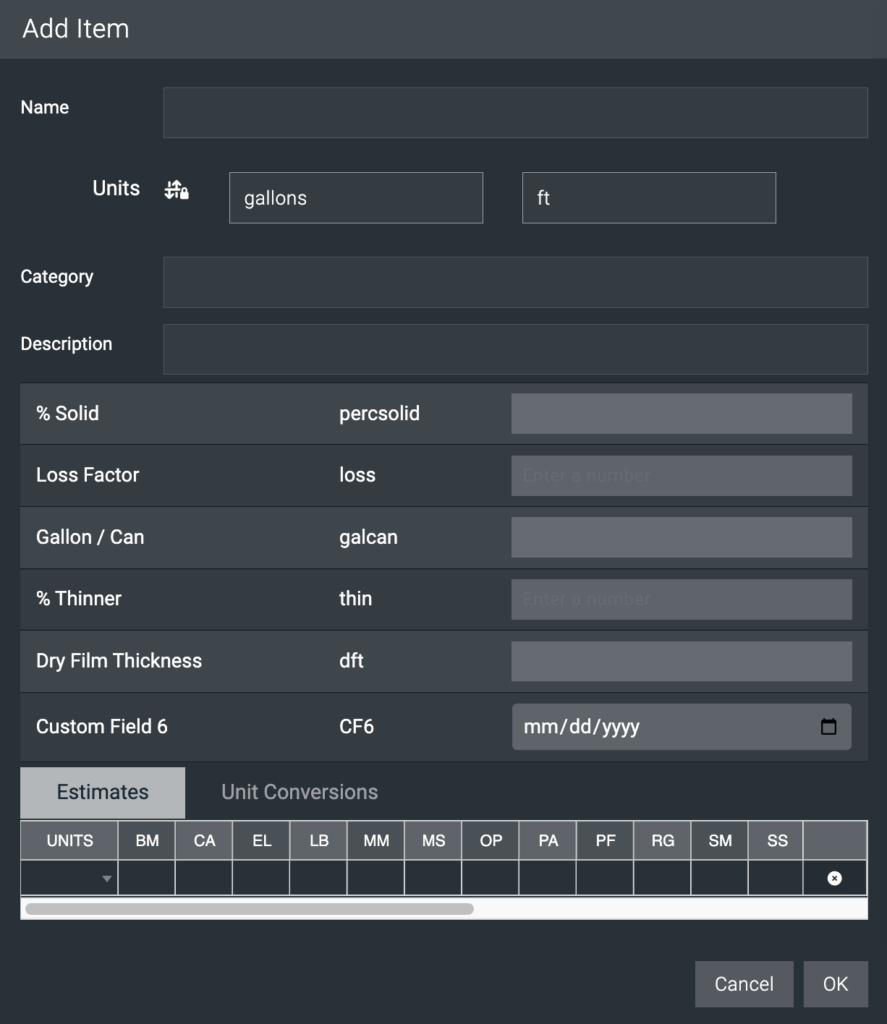
To create a custom item from the Assembly Items tab, start by choosing the assembly type from the dropdown above the Name column. Then use the + button to open the Add Item screen.
The units, plus any custom properties included with the assembly type you chose, are pulled from the system’s assembly type configuration. In the example below, we’re adding a Paint assembly item, which comes with six properties.
Once you’ve added an assembly item to a work item, you have to create a line item for it to show up in the Line Items table. You do this in the work item’s Assemble tab.
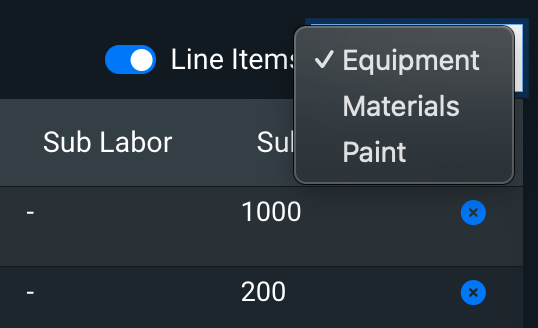
Set the assembly type using the dropdown in the upper right of the table.
Then pick an option from the Item dropdown menu in the first row of the table, and provide a value for each unit – the structure columns will populate using that assembly item’s configuration. Note that this list is pulled from the Assembly Items tab, so be sure all the options you need are set up there first.
Learn more about using assembly items in our User Guide.
Line Item Rate Card Overrides
By default, line items inherit their rate card from their work item; this is indicated by a dash in the Rate column. In fact, when you choose the dash from the Rate dropdown, you’re setting that line item to the work item’s default.
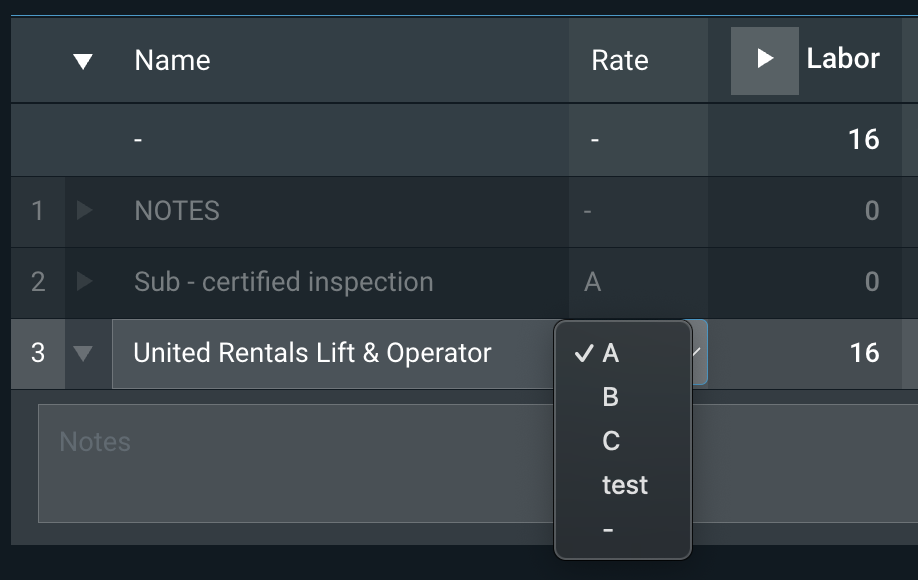
So when you use the dropdown to choose a rate card value (and when you import line items with rate card values), you’re overriding the work item’s default. Use this whenever individual line items need to use different rate cards than their work item.
You can also assign a color to values in the Rate column. This is set at the project level. In the Settings tab, go to the Rate Cards pane, and hit the color selector button in the toolbar on the right.
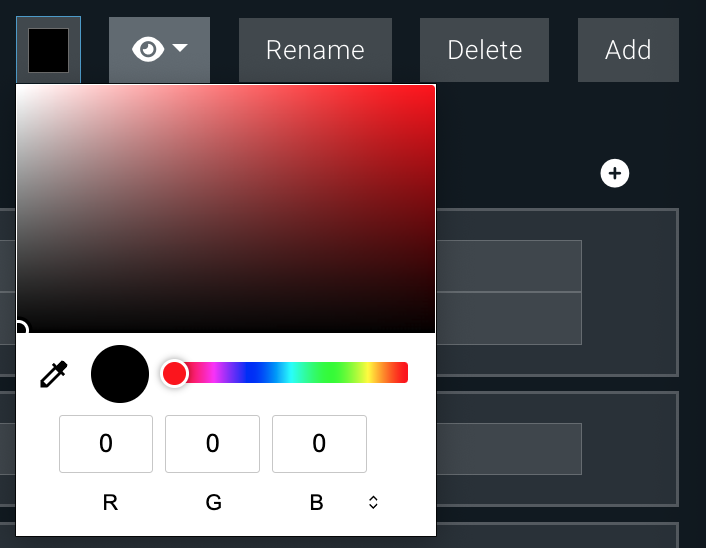
Here’s an example of how that might look:
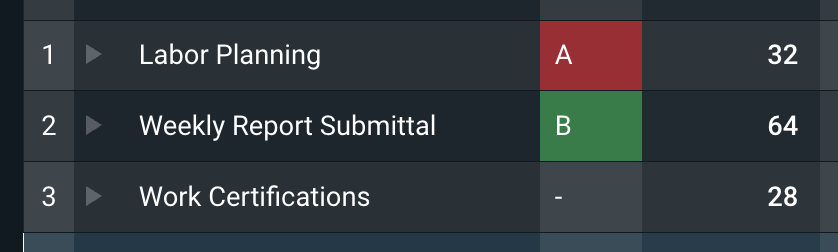
To learn more about setting rate card colors, see our Rate Card guide.
Line Item Groups
The larger a project is, the more ways you need to organize the work. YARDOS Estimation lets you add special line items called groups that function as folders, containing line items and rolling up their estimation values so you can easily see totals at the group level.
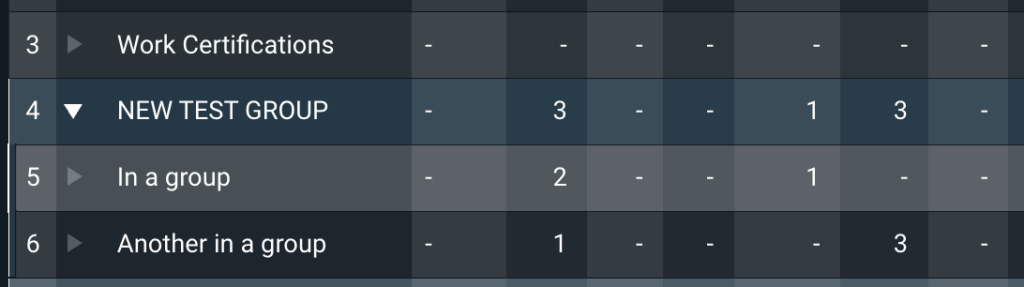
Here we have NEW TEST GROUP, which contains child items #5 and #6. You can see in that example how the structure columns for the line item group show, for instance, the total of 2 hours from line item #5 plus 1 hour from line item #6.
Several visual elements mark NEW TEST GROUP as a group:
- The parent item’s Name field is capitalized, which is done automatically.
- The parent item’s row gets a different background color.
- The little triangle to the left of the parent item is white.
- When the child items are visible, there is a thin white vertical line to the left of the line numbers for the items in the group, including the parent item.
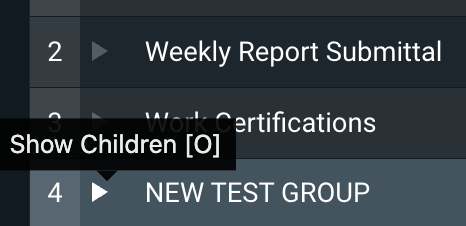
A line item group can either show or hide its children. In the above example, the group’s little triangle is white and pointing down, which means it’s showing its children. When a group is set to hide children, the triangle points to the right like a regular line item. Just click on the triangle to toggle between showing and hiding.
Adding a Group
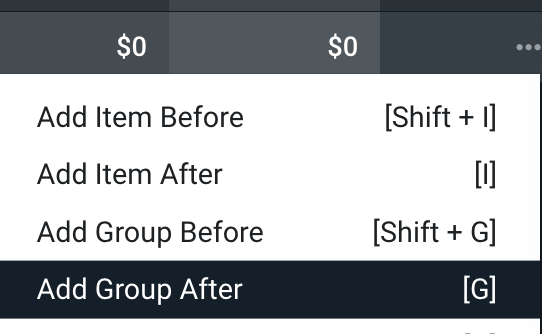
There are two ways to add a line item group, depending on where you want the group to go. To add a line item group within the Line Items table, and use the ‘three dots’ menu (...) on the right of a line item to add a group. You can add a group either before or after the current line item.
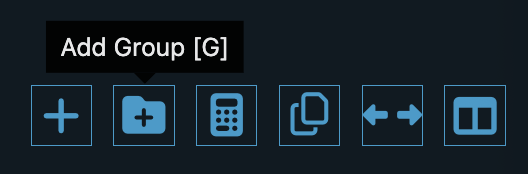
If you just want to add a new group to the bottom of the table, use the Add Group button (+) in the table’s toolbar.
Either way, a new empty line item group appears in the table where you specified. You can leave it empty, or enter values – there are no required fields. The system will capitalize the Name field automatically.

Adding children to a group
You can add existing items to a group just by dragging and dropping them. Set the group to show children, then grab the line number on the leftmost and drag it till it’s just below the group (remember the thin white line on the left). A line item dragged to that spot will be added to the group above it. If the group is hiding its children, then dragging and dropping will just reorder as usual.
To add a new item to a group, use the Add Child button next to the ‘three dots’ menu (...) on the right side of the group.
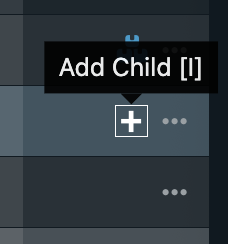
The new child item row will appear if the group is showing its children – otherwise the new child item will be shown with the rest of the children once you expand the group. From there, you can populate the child item as you would any line item.
Line Item Paragraphs
Estimators can now associate Line Items to individual paragraphs, making it clearer how the estimate links back to the specification.
If you would like to take advantage of this feature, please reach out to support@oxalis.io to have the feature flag enabled.
When the feature is enabled, estimators will see a new Paragraph column in the Line Items table within a Work Item.
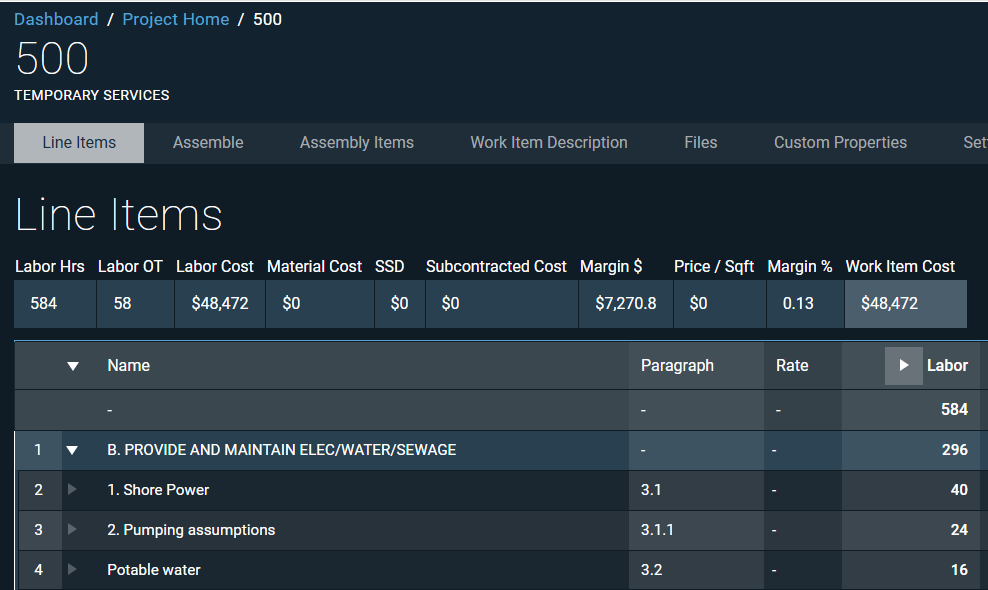
To set the list of available paragraphs in a Work Item, go to the Work Item Settings > Paragraphs tab. From there, estimators can enter the paragraph options that will be available for selection in the Work Item. The Paragraph value can be any value desired, including individual Paragraphs or a range of Paragraphs.
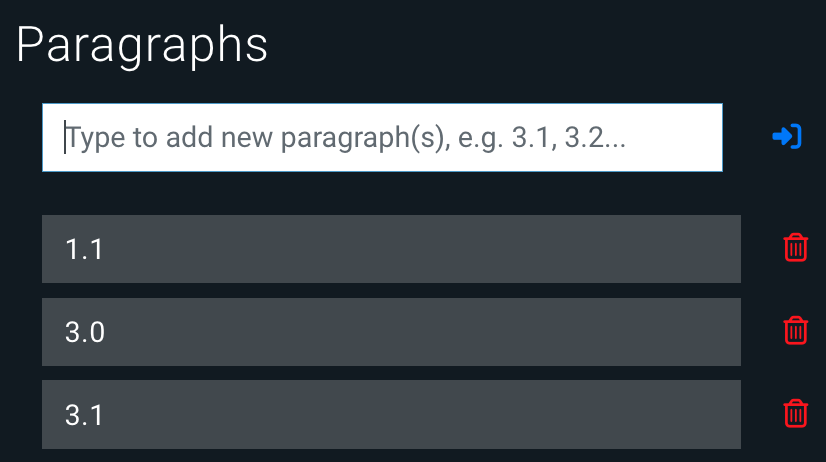
To add a bunch of paragraphs all at once, you can paste in a list of values separated by commas, like this: “3.0, 3.1, 3.2, 3.3”. When you hit Enter or the blue Add Paragraphs button, all the values will be added at once.
This list of paragraph values becomes the Paragraph column’s dropdown field in the Line Items table, so all you have to do is choose a value. You can also type ahead to filter the list of options.
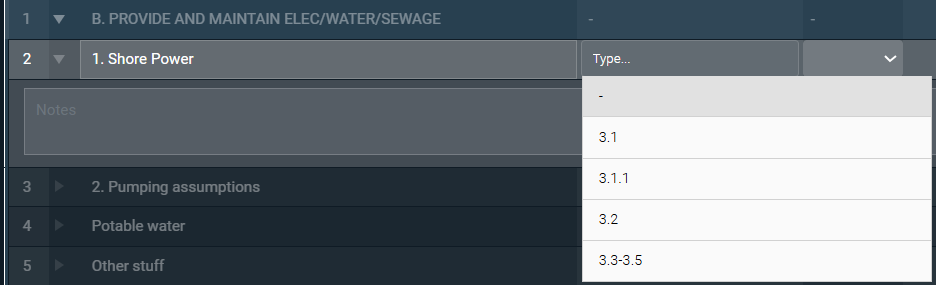
If the paragraph you want to use is missing from the dropdown, you can just type in the new value. The new option will automatically be added to the list of paragraph values for the Work Item, making it available to select in other Line Items.

Copy from Another Work Item
Sometimes you need to add a line item that already exists in another work item. On the Line Items page, use the button in the toolbar to do that.
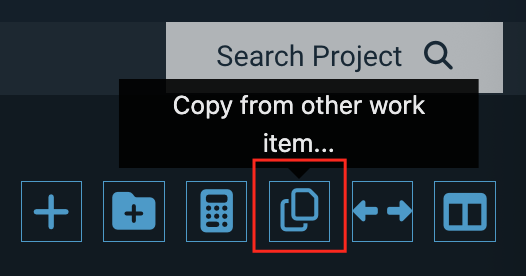
This will pop up a screen where you can provide the parameters for the copy.
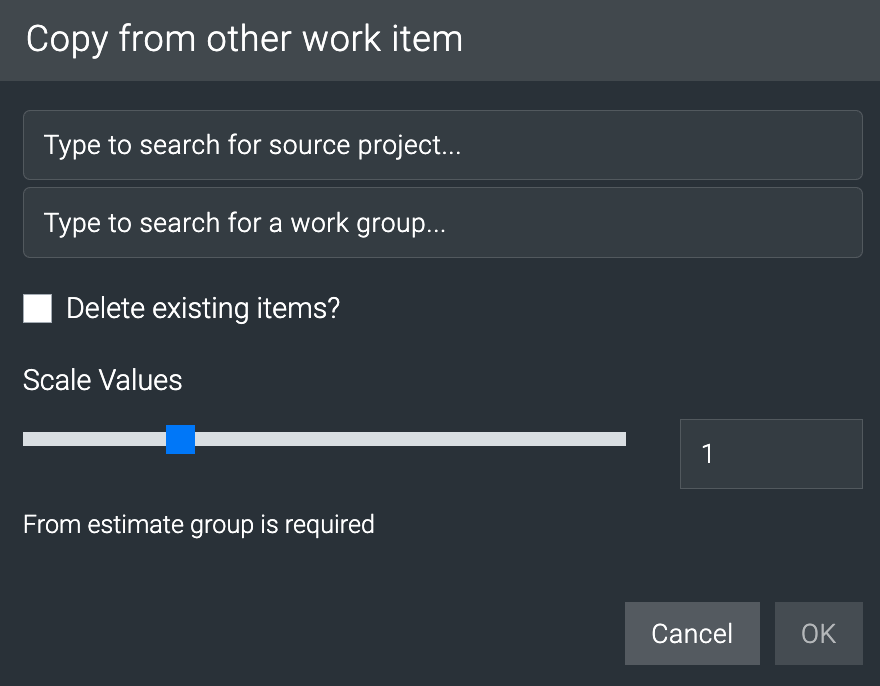
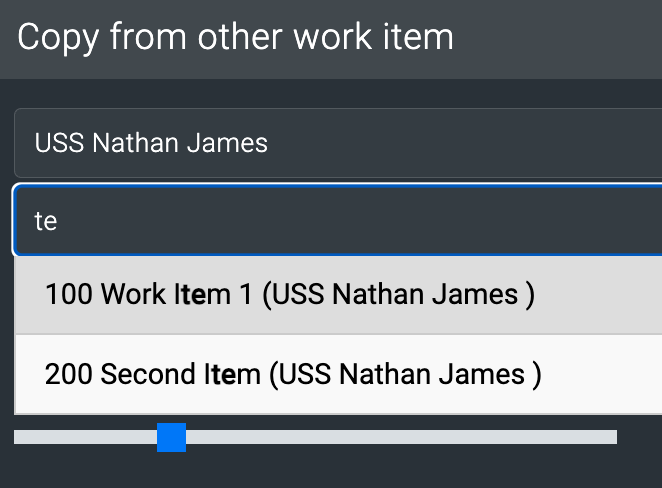
Choose the source project and work item. As you type in those boxes, you’ll see a live list of results that refines with each new letter. That list is a dropdown menu, so you can scroll and choose a result.
The results for the work item search show the work item id and Name, followed by the project name in parentheses.
You may want to add the line items from the source work item to the existing line items, or you might want to replace the ones you have with the source line items. That’s what the Delete existing items? checkbox is for. By default, the copy operation will just add the source line items – so if you want to replace them, check that box. The end result will be that your work item contains just the line items from the source work item. Note that existing distribution items will remain in place even when line items are deleted.
If the source work item has any assemblies or line item calculators configured, they will be copied over. Distributions will be unaffected since they are attached to the work item itself. Specifically:
- Distributed line items that were applied in the source work item are not copied.
- Distributed line items in the destination project will continue to apply as expected.
Lastly, the “Copy from other work item” screen offers you the option of applying a cross-the-board multiplier to all the values in the source line items – using the Scale Values slider. This does a simple multiplication using the multiplier set by the slider, and will update values for structure columns and assembly items.
Files
You can associate files with individual YARDOS Estimation work items, not just projects – using the work item’s Files tab. If there are already files associated, the tab will show the count of files – including any inside folders, but not folders themselves – in the tab name.
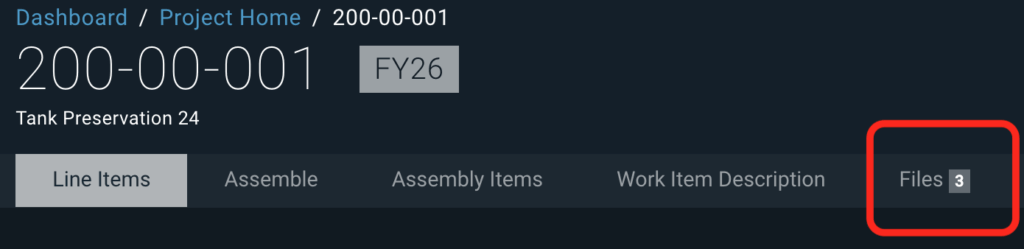
Here’s what it looks like:
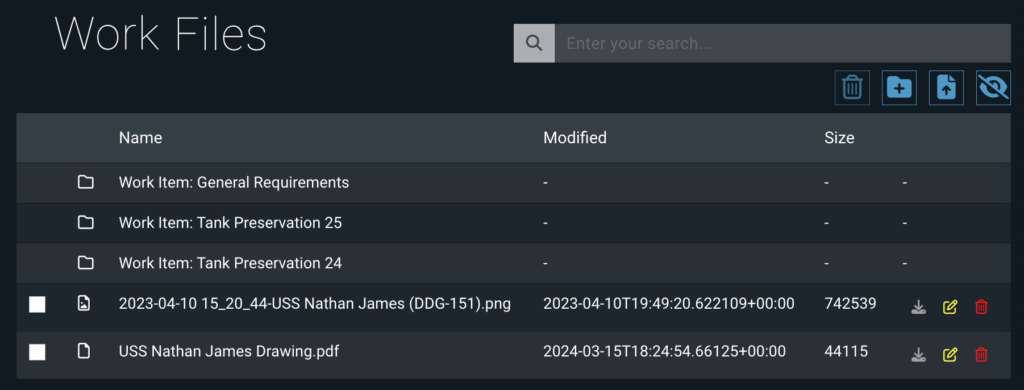
Let’s look at what you can do here.
File/folder list
From left to right, the columns in this list are:
- Delete box: If you want to delete files using the Delete button in the toolbar, select the files here – see below for more.
- Type icon: An icon showing whether the object is a folder, an image, or another type of object.
- Object name: The name given to a folder when it was created, or for files, the filename unless it was subsequently renamed – see below for more.
- Last modified date: The date, time, and time zone when the file was last modified, in ISO8601 format. No value provided for folders.
- Size in bytes: The file size as represented in bytes. No value provided for folders.
- Actions you can take: A series of icon buttons for actions you can take on this file – see below for more. Folders don’t get this.
Adding/moving objects
Here’s how to add files and move things around.
- To move an existing file or folder into a folder, just drag the file’s row onto the folder’s row.
- To move an object back up one level, from within a folder, drag it onto the top row.
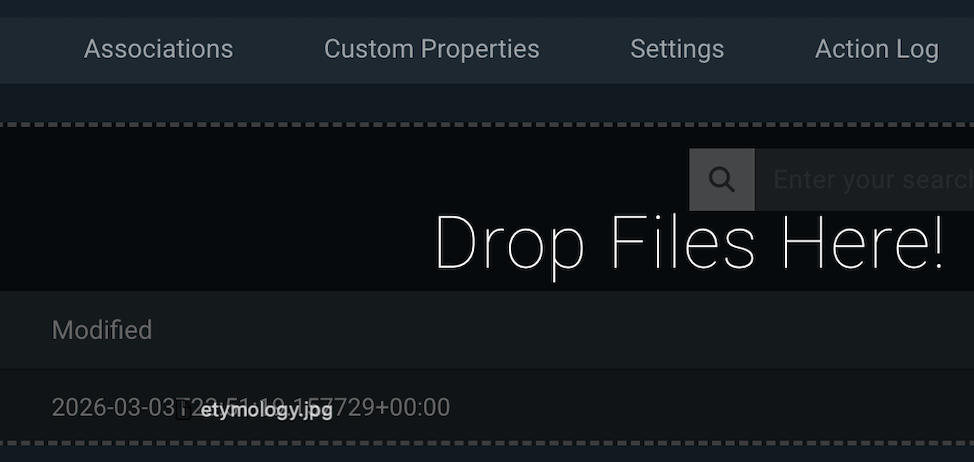
- To add a file from your computer‘s file system, drag it onto the table part of the page. That part will change color and gain a border to make clear what area to drop the file onto.
Navigating
To open a folder, just click on that row. When you’re inside a folder, you can go back up a level by clicking on the top row.
Search
Type in this box to search through the objects currently displayed. This does not search down into folders; it only searches the objects on the current page.
Toolbar
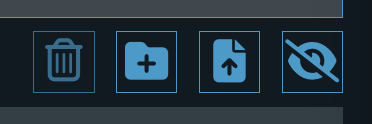
From left to right, these are:
- Delete: If you’ve selected one or more objects in the list, hit this button to delete them.
- Add Folder: Use this to create a new folder with the name you provide.
- Upload File: Use this to choose a file to upload to the current folder. The Name field will autopopulate with the filename.
- Show Hidden Files: Some files are hidden by default, such as an import file after an import is done.
Actions column
There’s no header for it, but the rightmost column in the table contains icon buttons for actions you can take on that row.
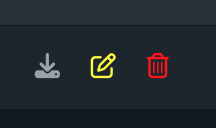
From left to right, they are:
- Download: Use this to download that file to your computer. Not available for folders.
- Edit Name: Opens a dialog box that lets you rename the object.
- Delete: Delete just that object. Note that deleting a folder will delete all contents, including subfolders and their contents.
Custom Properties
You can use custom properties at the project and work item level, then reuse them in calculators, math formulas, and rate cards.
Custom properties for projects are defined once by system admins in System Settings. Any property configured there will appear in every project, where you can provide values in the Custom Properties tab.
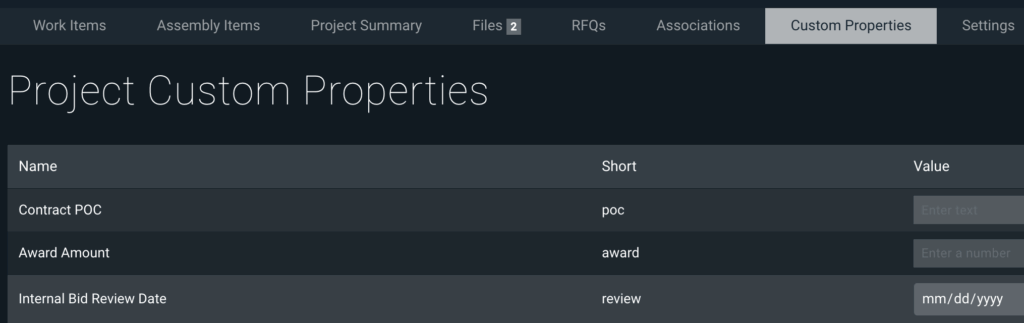
Custom properties for work items can be set up at the system level, where like project properties, they’ll automatically appear in YARDOS Estimation work items in every project. They can also be created individually in a project. This gives you standardization where you need it, and customization where you need that.
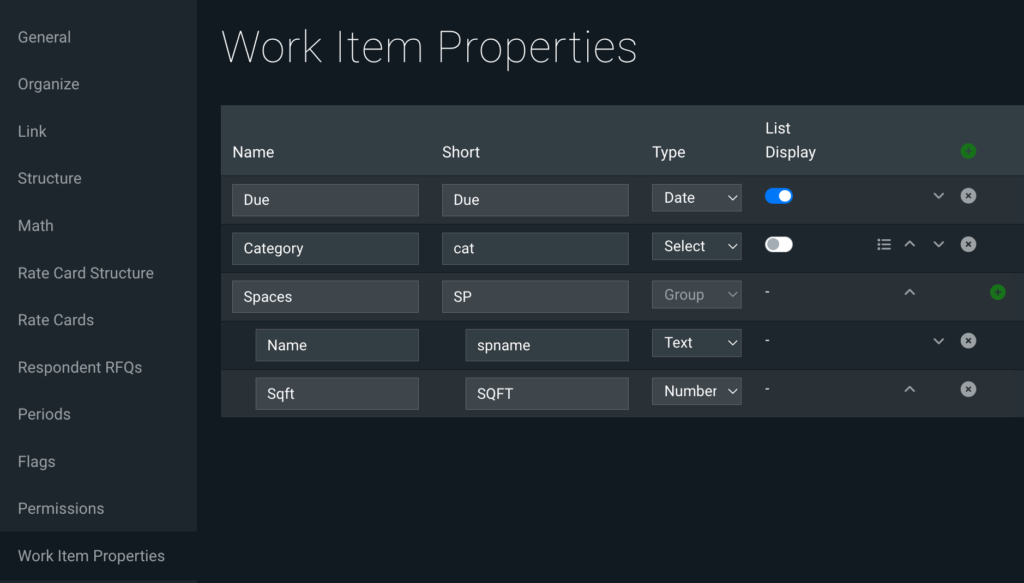
Here’s how the two levels interact: a newly-created project automatically inherits all the system’s default work item properties, and a newly-added work item automatically inherits all the project’s default work item properties.
Where you can use them
Once custom properties are configured for projects and/or work items, you can do several things with them.
- Use a property in Rate Cards, Calculators, and Math formulas.
- Rate Cards – As part of advanced rate card math, which helps standardize estimation and reduce the number of rate cards you need.
- Calculators – As the input value for a preset Calculator, instead of a manually entered value, if the field is configured as Type Input
- Math formulas – As part of Math formulas, defined either at the system or project level
- Set any work item property to display as a column in the Work Items table. This could be as simple as a Due Date, or it could be a complex formula that uses values from other columns.
- In Distribution metrics, use the value of the selected Work Item property as the basis for proportionate distribution across other YARDOS Estimation Work Items.
- Display project-level aggregates of work item properties in the Custom Properties page for a project.
Delete Work Item
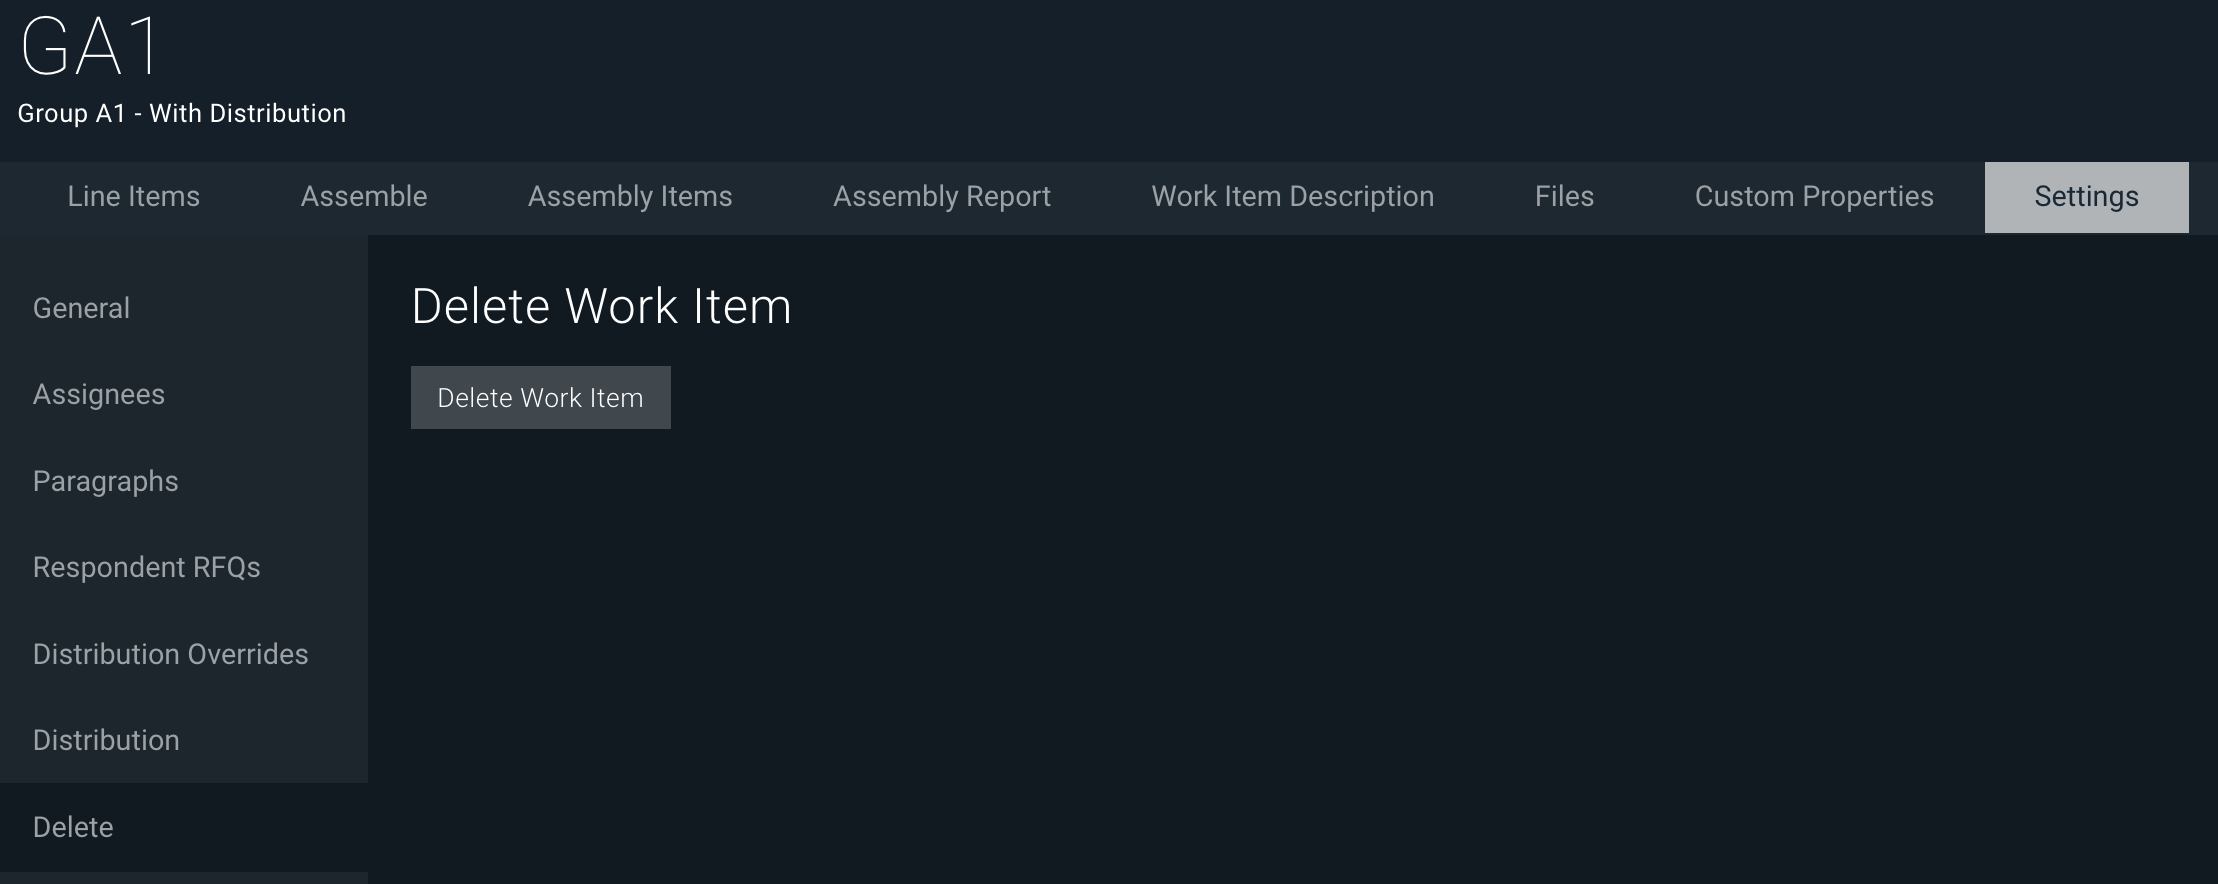
If you need to delete a work item, go to the item’s Settings tab, then the Delete pane, and hit the Delete Work Item button.